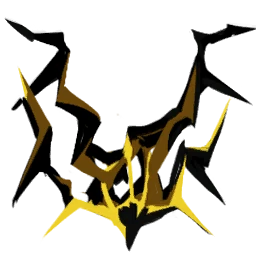
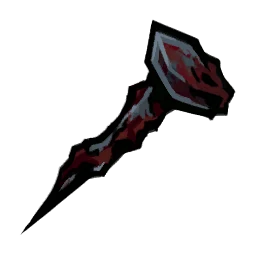
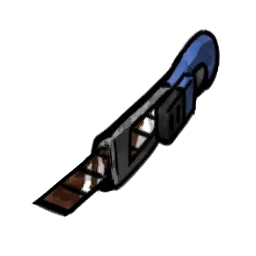
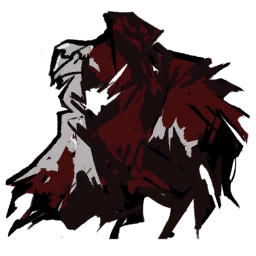
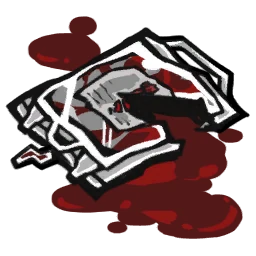
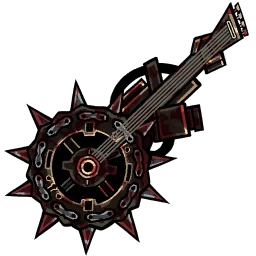
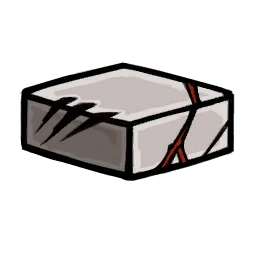
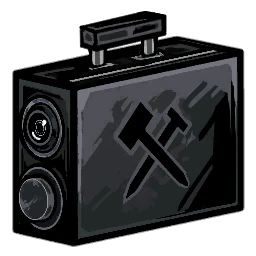
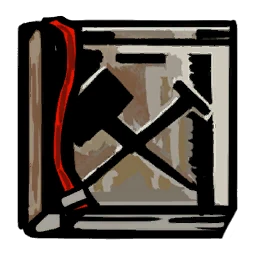
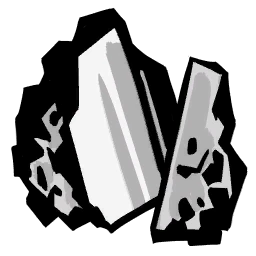
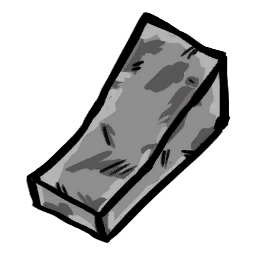
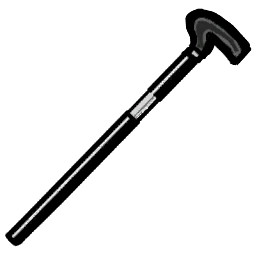
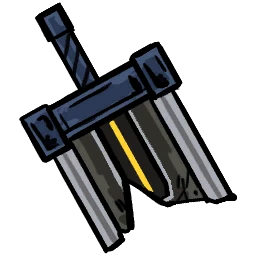
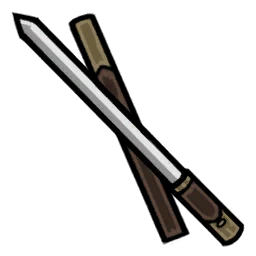
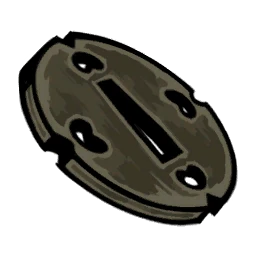
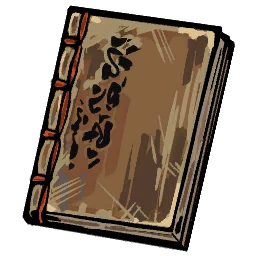
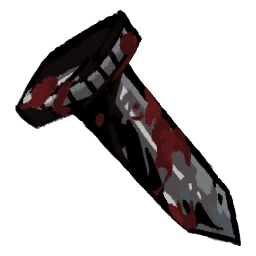
Do not go for fusing Squalidity + Nagel und Hammer Scriptures into Wholeness.
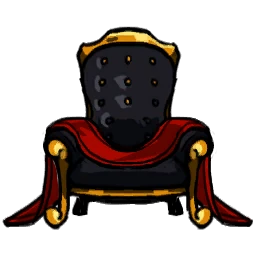
Squalidity's surprisingly strong damage boosting effect will be lost to N. Corp exclusivity.
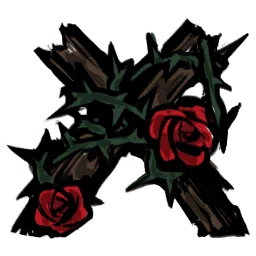
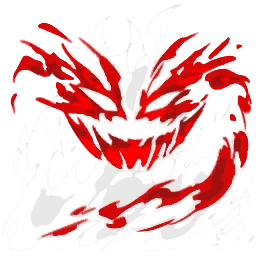
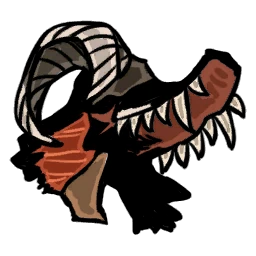
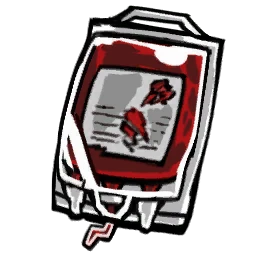
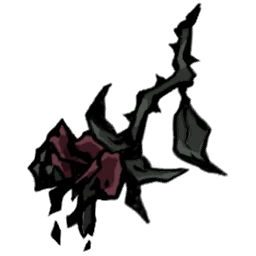
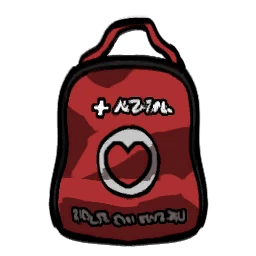
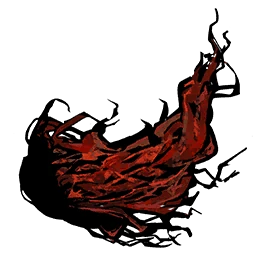
Blood-red Mane is especially applicable and effective for our team!
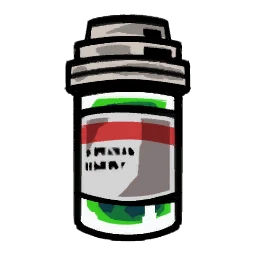
Haste and Defense Up for a sinner that took no enemy damage.
A negligible bind penalty in exchange for a strong 2 Clash Power Up if they've been hurt.

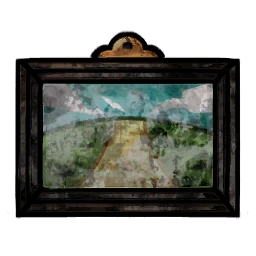
It's honestly really hard to ignore this floor pack. It's only available for this floor (2) and the ego gifts are simple but effective and widely applicable for many teams.
The two chicken IDs also make for great cost/fusion fodder too whilst being easily attainable thanks to the chicken debate event.
My only complaint with this floor is the fact that we're dealing with two keywordless gifts to hopefully nab. At least it's early in the run, but I would not blame anyone if they used their 3rd Gift Observation to skip needing to luck on grabbing our three main target gifts here.
Tango Marinade alone gives more clash power for being faster.
Contaminated Needle & Thread will lead to an ever-expanding bleed potency count based on first attack's damage.
Sharp Needle & Thread Half the turn's first attack's damage is added on top.


This slot is a list of helpful floor packs from 5 to 10 to go for.
Directly below this section are the most important packs to go for. Descending further = lower priority until Floor 11-15.
Refer to the listed below Floor 6-10 packs for the individual descriptions of each pack.
Bongeh.........
Pick these for your last few floors. The enemies are really easy.
Crabs kill each other when one of them's low.
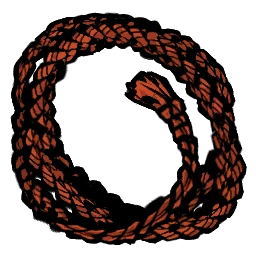
Bridle of Infinity is about bosses that have some immortality mechanic, but you'll likely outdamage them from being able to do anything.
Both floors' enemies are "weak" enough in that even if they do hit you, you'll probably be able to live (which, compared to the other enemies in other packs that could probably kill you in one clean attack, that's saying something).
Floors 3 and 4 share a similar pool. So if any of these two floor packs show up, pick one and go for the other on the next floor.
If The B.E. shows up at all. Get it, no questions asked. It might disrupt your plans, but Bongy Plush is singlehandedly able to carry a whole run down to 15 - max adversity.
Otherwise,
The Noon of Violet boasts a handful of nice gifts for bleed (All), charge (Le Rogue/Corporist), and sinking (Fauvist). This pack is overall plenty helpful and I'd it tack as a higher priority with 7 total gifts that aid in damage, clash power, and keyword potency/count stacking. All on one floor!
Storefront Campout Is a new pack for this new season! I'm noting it down here to check out how impactful the gifts are. Plus it's only available in Floor 3-4. It's shorter for if you want a quicker run and the two charge gifts are helpful too.
Blanket is -20% damage taken for anyone on defense. But it gives buffs if anyone is
or Le Rogue/Le Noir.
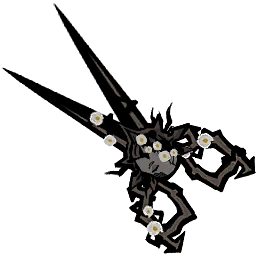
Blossom Scissors is more damage for your #1 deployed
or Le Rogue/Le Noir sinner.
Refer to the above floor description. Pick whichever one wasn't already picked.
If Storefront Campout doesn't really speak to you as particularly helpful, there's a plethora of additional packs to be picked by Floor 4.
All the Walpurgisnacht gifts have at least a handful of flexibly helpful EGO gifts. Pick your flavor!
This Floor pack is mainly here for the sake of buffing The Corporists and Le Rogue IDs. This pack is practically unskippable if you're going into Mirror Dungeon with a
keyword team as the focus.
The lot of Murder on the Warp Express's gifts are...
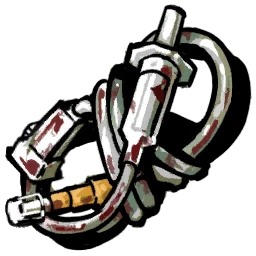
Cleanup Agent Gear Set C
Skills eating charge get +3 Clash Power & 15% more damage. (Upgrade from E-Type Dimensional Dagger)
^ Also get 4 charge count & 1 Charge Barrier. (Upgrade from Portable Battery Socket)
Charge IDs start stocking up Emergency Charge Barrier. (From W Corp. Standard Issue Cap)
On stagger, turn on the Emergency Charge Barrier
Each charge IDs = 1% more damage.
Rest is W-Corp exclusive.
Discarded Dimensional Gauntlet
These next four gifts are composites for four possible fusions. If you're more interested in their individual effects, here they are below.
Biogenerative Battery [for Charge IDs]
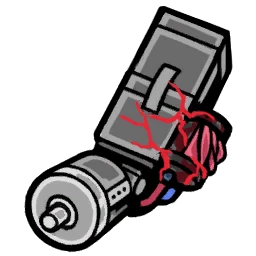
Cardiovascular Reactive Module
Prosthetic Joint Servos
Crystallized Blood
Of the fusion gifts, all four of them have the same first effect which is;
With the available fusion pieces, you're able to nab up to one grouped pair of fusions in your run.
Think of it like a Path A vs Path B scenario.
Path A:
Overcharged Battery
Perpetual Generator Servos
Path B:
Automated Joints
Hearts-powered Jewel
Between the two paths:
Personally, my bias favors Path A's pair of fusions more. I'm not quite as confident in the EXTREME floors ever since my previous test run. That could very easily be different now that charge fusions are available (and charge is king when it comes to clashing). But that's my recommendation at this time.
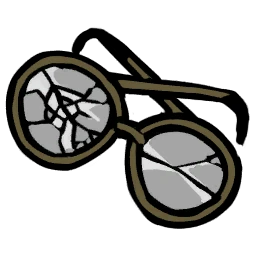
By grabbing Spicebush Branch in Gift Observation, going to this floor can be really nice for the sake of obtaining Spicebush, Glasses, and Mailed Letter.
The reason for skipping Spicebush via Starlight freebies is because Falling Flowers is nestled in a really competitive set of floors (2 & 3). 2 is usually auto-slotted with Hell's Chicken. 3 has some marginally more plentiful packs too.
Spicebush, Glasses, and Mailed Letter
This fusion gift is rupture, but only the first effect really cares about if #1, #2, and #3 use rupture. The rest is fair game.
Final Power +1 & 25% damage if they're faster. (Important)
If the enemy loses a clash while having Offense Up, they get Offense Level Down (3).
Offense Up (3) for the sinner that won the clash. (Strong)
Each different skill used by the sinner gives Base Power Up and Haste for the rest of the fight. (Strong*)
*To put simply, effects relating to base/final power are very strong as they impact both an attack's clash strength and damage.
With that said, even one Base Power Up is really helpful in combat!
Much like Hell's Chicken, Miracle in District 20 BokGak is chock-full of EGO gifts and fusions that are both flexible and potent with their effects.
It's a floor pack that's hard to ignore!
But, be prepared to refresh in the shop. The reason being is that there are 4 keyworldess gifts you would want to grab from this floor for full effects. There are two encounters that can help you grab some of these keywordless gifts.
Because of how expensive it can be trying to hunt for all the gifts, I recommend picking this pack as some of the last floors (9 - 10) so that you have some buffer to accrue a lot of Cost.
These exclusive fusion gifts are plenty helpful though they culminate into three fusions that are both flexible and effective in their helpfulness. The fusions are as follows:
Jolly Plushie | Significant damage increase with poise and a nice bit of defensive utility.
Shadow Monster | Offense/Defense debuffs for the enemy
When an enemy is:
Hitting an enemy who's in any of those three statuses will lead to them losing either 1 offense or defense level as well. (3 times per turn)
Gift | Random buffs/debuffs. Great for meeting the "Enough debuffs" quota for The Ring's additional effects.
Turn Start:
When an ally hits:
Floor packs with less relevant or more generalist gifts to help us. Some of them touch on keywords the Ring won't really touch. But by this point of the run, you likely have EGO gifts that force the keywords to work with you.
i.e. Nebulizer forcing Poise to work. Fiery Down for our team since it works on Lust moves.
Stay careful with Line 5. The AoE properties that Hong Lu and Faust have can handle it better than other teams, but the multiple enemies can be troublesome on later floors.
Hi there reader!
This is a guide for my favorite team comp; The Ring!
I'm especially fond of The Corporists and their base characters so I'm hoping this can propel them as far as possible.
If you have any suggestions or would like to correct any part of this guide. Please feel free to comment down below. I'll periodically check every couple weeks at most-sparse. I will also be checking back in to update with the arrival of any content releases such as new IDs, Mirror Dungeon updates, and more!
Above all, thank you very much for taking the time to read this guide I made. Liking and sharing it is honestly really flattering too and I hope I can honor it by making this as in-depth yet comprehensible as possible.
NEW/UPDATE [11/1/2026]
We have 3 Le Rogue IDs now with the recent arrival of Le Rogue (King of Needleworks) Heathcliff!
At this posting, I've yet to obtain this ID and am not planning to pull until Walpurgisnacht. But, bringing him along will allow for dual-keyword'ing as both a Bleed and Charge team.
This results in this guide now being able to introduce Charge EGO gifts into the wishlist that ask for 5+ frontline charge allies. This will likely lead to much stronger clash power for this team comp in the guide. Clashing was actually a personal struggle when testing this guide on a max adversity Floor 15 run!
As a result, charge gifts have increased relevancy to the guide! This translates to raising Murder on the WARP Express BokGak 's importance in the Floor 6-10 section as well as updating the description to more properly depict the pack exclusive fusion gifts.
Conversely, this also sunsets some Ring IDs. Naturally, the first to exit are the duo from the Pointillist school of art as they are among the weakest links in the team before. Their age is apparent with their clash power and damage. Not only that, but the Pointillists specialty in randomly inflicting keyword ailments is unfortunately fairly replicable with EGO gifts.
This rearranged lineup also ended up with a re-examination of possible support passives. I've thus added some additional support passive ID picks which tangentially give some assistance.
Lastly, I also went to re-examine the guide's descriptions pretty thoroughly and have improved some phrasings, gift explanations, tidied up the formatting a bit better, and updated the course itinerary with the new team comp.
Likely in the future, more Le Rogue IDs will release. I foresee that Ishmael and Heathcliff's IDs might be dethroned. Stay tuned!
Notes:
Backup Sinners
Sinners that aren't deployed have their IDs picked based on their support passives.
For support passives to both feasibly activate and contribute:
One last thing to mention, there is a bleed EGO gift called Sanguine Fragrance Descends which has a maximum effect based on how many bleed IDs are in your team. The max effect is at 10 IDs. Thus, the backline IDs giving passives also conveniently involves three bleed IDs for the sake of grabbing this effect as well. In our case:
E.G.O. Skills
E.G.O. skills selected do not need to be copied 1-to-1 specifically. These are just what I have + what I'd want.
Some highlight EGO skills that definitely help include:
[Hong Lu] Repudiation for its passive. +5 Max Charge Count would be super helpful for Haunted Shoes 's ramp-up.
[Rodion] Sanguine Desire strong active effect for bleed.
Bleed count won't go down for the whole turn that this skill is being used.
Massive lust damage based on enemy bleed count and lust resonance on use.
Sustain EGO gifts and strong clashers like [Rodion] Pursuance and [Sinclair] Cavernous Wailing.
Supports do not have any EGO skills for the sake of decluttering.
Skill Replacements
A general rule of thumb (just to be safe) is to have at least 1 Skill 1 & Skill 2 so that some EGO gifts still apply their effects to a sinner. i.e. "This effect only works on sinners with pride (blue) skills".
In this case, there are some helpful gifts that apply to Lust (orange) attacks, which most bleed IDs (let alone The Ring for that matter) have as their important attacks.
Main gifts on this topic include Blood-red Mane (Floor 1) and Worn Hilt (Yield My Flesh Bokgak)
With that said, I personally like to keep...
The tl;dr, using a Skill 1 with the related gift ^ nets you an extra Base Power Up + Haste for the rest of a fight. Take caution though if you decide to bring a Skill 1 over to higher difficulty floors. For skill 1's can easily become a liability in combat.
Skill 1's are typically weaker. So on (let's say) max-adversity EXTREME floors, it is common for Skill 1's to end up only used during easier turns such as enemy staggers in order to use them without heavy consequence. Otherwise, it can be very difficult to find a good time to use them for the sake of gaining that power and speed buff.
With that said though, whether you keep a Skill 1 or not on your sinners, hopefully your decision will be able to triumph in your run.
Gift Observation
My personal choice of the three gifts to nab for free in Gift Observation is usually based on picks that would save me from needing to go to entire floor theme packs for fusion gifts I like.
The reasons for these picks will (also) be on the floor descriptions for each one.
There are a variety of other viable answers for your personal Gift Observation picks. Like:
Prestige Card is a pretty common generally good pick to not risk going broke. Especially during the early floors.
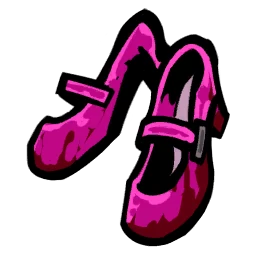
Frozen Cries or Haunted Shoes to grab Hoarfrost Footprint for a helpful sinking gift that's applicable for any team.
Squalidity is a pick if you would like to maximize damage for say the "Inflict x damage in one attack" achievements.
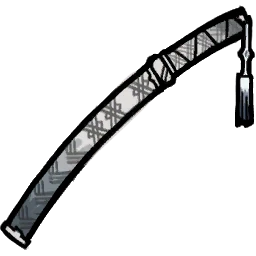
Grabbing a Blade Lineage-fusion related EGO gift like Red Tassel or Unadorned Sword-guard might also be helpful if you seek the fusion at a lower commitment cost.
Etcetera. Etcetera.
This and Blade and Artwork are top priority floor theme packs for
.

New to this season is that Universal Instinct & Universal Skeleton are now categorized as
gifts rather than keywordless. This makes them much easier to grab in the shop should you not be so lucky on the way. The main prize are the two fusion gifts from this floor's exclusive gifts.
Artwork: Evolving Pulsation & Artwork: Taxidermied Ferity
Artwork: Evolving Pulsation is meant for the Corporists.
Beauty of the Physique
Beauty of the Physique gives +2 Coin Power Up (enemies bleeding 20+ and unique charge user) & 20% damage boost.Artwork: Taxidermied Ferity is the Fauvist version.
Charm of the Beastly
Altogether, this is a 60% increase in damage for the two focus art schools (sorry Pointillists). The Coin Power is significant for clashing and stronger attacks too.
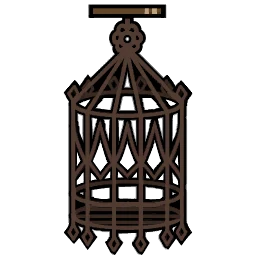
The last two stragglers are in the "neat but not necessary" category; The Middle Styled Knuckle-dusters is blunt resistance raising for the Fauvists to hit harder while Unoccupied Birdcage is an EGO resource helper.
We head to this floor for Exquisite Artwork. The other two are nice but won't ruin your run if you can't get them.
Exquisite Artwork
Spark of Inspiration to hit enemies where they get
Curio. Hit them again to turn
Curio into
Art Medium.
Spark of Inspiration makes Ring IDs hit 10% harder against enemies with
Art Medium.
Art Medium take 10% more damage from Lust skills.
Art Medium to turn {status:Insire} into a stronger buff;
Exquisite Aesthetics. 30% damage increase & Coin Power +1This on top of the Twinning Thread fusions nets us to a 90% total damage increase on ideal conditions that are no trouble for the team to achieve. This leads to ridiculous damage from everyone. At this point, the rest of the Mirror Dungeon run is up to you on how much farther you can push this.
If you're highlighting Ring Hong Lu and Faust as your strongest fighters, then grabbing Red Tassel in Gift Observation and then grabbing the other exclusive gift for the fusion is ideal.
Yield My Flesh's Bokgak pack overall has a basket full of "eh..." EGO gifts.
Their impact is either not too strong or is Blade Lineage/Kurokumo exclusive and is hard to justify going a full floor for. Thus, Red Tassel at Gift Observation helps save a big committment that yields okay-ish reward.
Mnestic Experience, meanwhile, has much more applicable effects with its gifts. The majority of which add all manner of buffs to Faust and Hong Lu's damage. The summary is that they provide:
Ohra Bond
N Corp. Service des Clous Briefcase
Nails, more Baekja Water Dropper
Flagroot Cane Sword
Crushed Wooden Manacle
The Book of the Homeland Swordplay [本國劍譜] The Slash gift ever
*If you want, you can diverge to a different strat where you bring in 2 Blade Lineage characters to the front line to proc Blade Lineage exclusive buffs for your chosen sinner.
Most gifts that have a condition needing enough IDs will stay active even if the condition is lost later. The Book of the Homeland Swordplay [本國劍譜] unfortunately will check if the condition is met every turn start. You need to keep your 2 Blade Lineage IDs alive.
The idea rests outside the scope of this guide, but I thought this silly idea should at least be mentioned.
A new floor theme pack from Canto X!
Unfortunately, only having 2 exclusive (well really, 1 usable) EGO gifts makes this a debatably skippable theme pack.
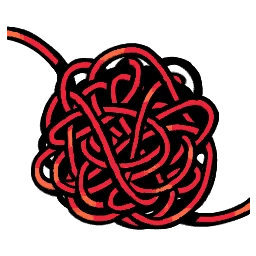
Straight Pin of the King of Needleworks Meant for our Le Rogues.
Mark of the King of Needleworks.Cartilage The actualy helpful one.
I thought to add this floor for anyone interested in our new packs. The best summary is that this will likely serve better in the future as more Le Rogue IDs are released for a more Le Rogue focused composition.
Though in our current state, Cartilage is honestly a pretty simple yet effective gift to grab. If you're not interested in any of the Gift Observation picks I put down. Cartilage is worth being the replacement pick.
Now we're at the Extreme Floors. By this point, how greedy you are with grabbing other EGO gifts and getting the goal floor exclusive ones will make the difference between trashing and thrashing everything or struggling to survive at all given the adversities. There's some more details to keep note of during your run such as the Mounting Trials you picked and Hidden Bosses. But that's a topic more for a dedicated general EXTREME guide.
This section covers theme packs which reward very exclusive EGO gifts. The ones listed are the only ones relevant to what our Ring team is doing. Make it a point to try and get these in earlier floors (11-12). Otherwise, these fights will likely be too difficult by Floors 13 - 15. Same applies to Hidden Bosses. If you encounter them at Floors 11 - 12, maybe 13 if you're unstoppable, go for it. Otherwise, skip if you're on the last floors or you risk botching the run on an opponent far too powerful to defeat.
Go to Fairy Tale for Another Round!. A lot of damage and charge count for charge IDs.
Complete & Total Extermination rewards Rules of the Middle. Blunt Coin Power +1 for [Meursault] The Ring Fauvist Student & [Rodion] The Ring Fauvist Docent.
The Master of La Manchaland's The Family's Resentment gives healing on all our bleed skills. Attack Up as well when we heal this way.
A Midspring Night's Dream 2 has Kkomi's Mini-Gift.
Backup Candy is 3 30% heals whenever someone dips below 60% HP. So long as you don't eat the candy, you get
Hunger which is Offense and Damage Up (but eventually nibbles your HP down to force you to eat the candy.
Lastly is Code Purple which has Mid-range K Corp. Ampule; An entire second health bar for your #1.
Comments (12)
No comments yet.